Play is a busy thing and takes a toll on children's clothing, especially the knees of their pants. From crawling on the floor to climbing trees, there are a million ways for kids to rip, tear, or wear out their clothes. We asked our friend Leah Gaeddert to put her creativity to work and show us the sustainable and crafty way she solves this problem.
Leah's children are huge fans of things that move; Cars, planes, trains, blimps, helicopters, hot air balloons, and even roomba vacuums. They spend most of their day scooting around on the floor deep in imaginative play with their vehicles, which does a number on a pair of pants. Almost every single pair they own has holes in them, most often on the knees.

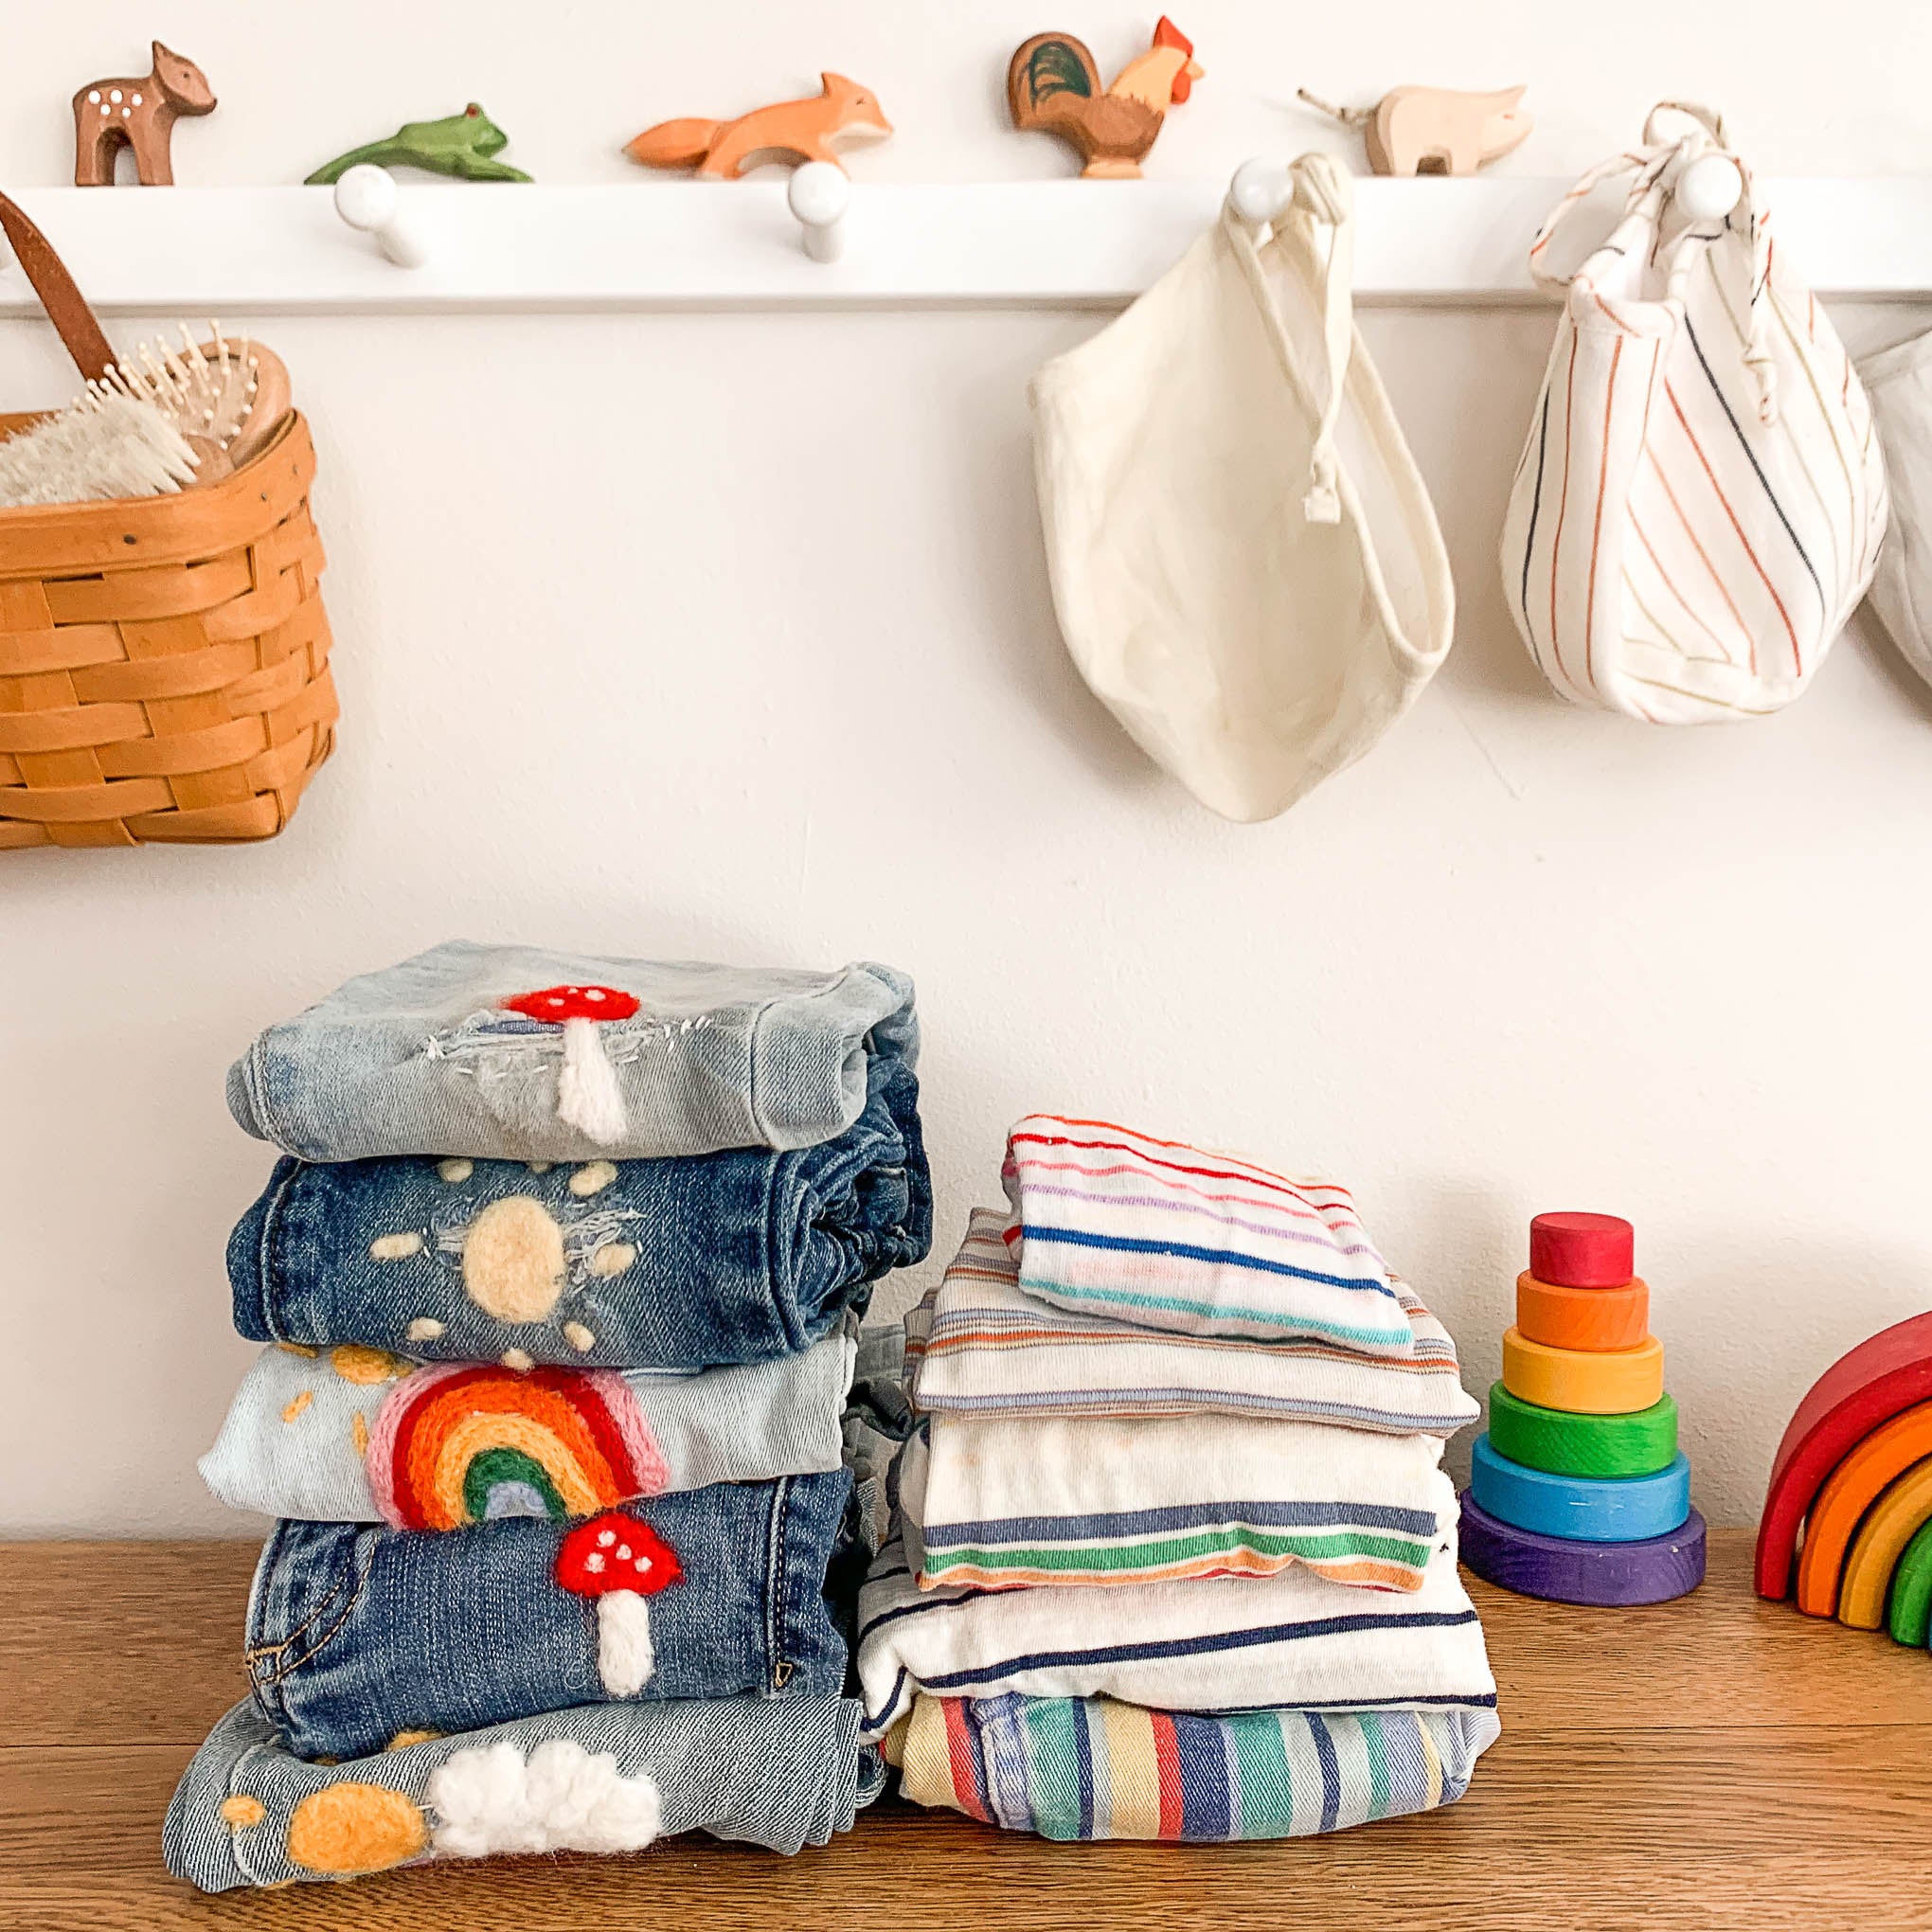
Replacing pants every few weeks just doesn’t make sense, sustainably or financially. To save money and prolong the life of their pants Leah decided to start mending/patching their pants with needle felting. As an added bonus, needle felted patches add a cute and unique element to what was once a plain pair of jeans. Want to give it a try? It's not as hard as you think!
Materials You'll Need:
- A well loved pair of jeans or corduroys, or your favorite sweater
- Needle and thread
- Scissors
- Scrap Fabric (for mending larger holes)
- Felting Needles
- Needle Felting Foam
- Wool Roving

Mending Holes with Needle and Thread
Start by mending each hole with a needle and thread (spots that are just worn down don’t need any pre-mending). For holes that are small enough pin the two sides of the hole together and stitch it closed. For larger holes pin a piece of scrap fabric on the inside and stitch the two pieces together around the outside of the hole.

Add your Needle Felted Patch
Once the holes are mended you are ready to needle felt!
Place the felting foam on the inside of the pant, under the hole.
Tear a small piece of roving and roll/press it into the shape you are wanting it to be. Place it on the hole, or the worn spot, and repeatedly poke through the felt and jeans, down into the foam, with your felting needle. With each poke through, the roving will begin to adhere to the pant.
Continue until the shape is flat against the pant material (or fully adhered).
 If you are adding a design - a toadstool, rainbow, bee, flower, etc - repeat the last step and add each color and detail.
 Once done, gently remove the felt pad from underneath the new patch. If the patch seems too loose, insert the felt pad again, and continue poking the wool roving until it is fully adhered.
Rub a little dish soap into the felted wool and run under hot water to help tighten the design, let dry.
 We love the whimsy that these needled felted patches add to the pants! They are so bright and colorful, and children will be excited to have their own customized pants. Leah's younger son asked for a bear for his next hole! One of our favorite things about this project is that if the patch starts to come loose due to play, you can always reinsert your felt pad and work the felt back into the pant again with your felting needle. A truly beautiful and sustainable way to mend!

Leah Gaeddert is a stay at home mom with two little boys and a baby girl. She has a love for illustrating, crafting, and creating childhood magic. On Instagram, she shares about daily life, her beautiful home, and favorite kid’s toys, books and clothing. Follow her for more great ideas like this!









Omg absolutely love this!!! Thanks for sharing ❤️
I love this idea! It’s great for all those small bits of roving I have around. My only (maybe dumb) question is how to wash the garment after it’s been felted. Just cold wash and hang to dry or dry low? Or would there be any special instructions with the wool?
Love it, so pretty 💜
Leave a comment