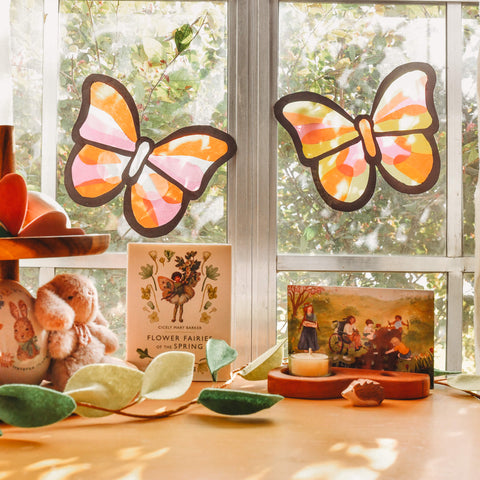
Green leaves are sprouting and flowers are popping up everywhere we look. We're on the hunt for the first butterfly sighting of the season, but in the meantime we've filled our windows with bright spring colors. Use our simple template to create your own butterfly window transparencies to welcome the coming of warmer weather, wildflowers and playing outside!
Gather Your Supplies
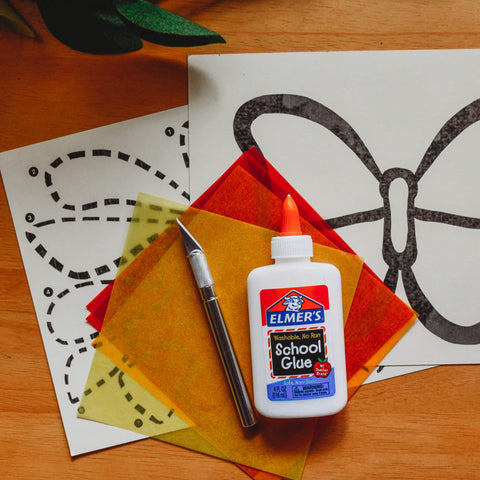
- Waldorf Window Star Paper
- Scissors
- Craft knife
- School glue
- Printed template
Cut, Trim & Paste
The beauty of window transparencies is that they can be as simple or intricate as you want to make them. We've created a simple template with a butterfly frame, as well as guides for the shapes you'll fill them in with. Feel free to make your own frame or fill this one with shapes of your own creation! Either way, start by using scissors and a craft knife to cut out your butterfly frame and the white spaces on the inside.
Next, you will want to plan out the colors and design you plan to use. If you're using our template, place the transparent paper on top and trace the shapes in your preferred color. Make sure to create a left and right side for each part. Cut these out and lay them on each side of your butterfly in the numbered order to keep things straight.

Use small dots of school glue to attach the pieces of kite paper to your frame. We started with the body in the center, then from the top of the wing to the bottom. Play with the way the paper and colors layer to decide how you want to glue them on.

For the bottom section, we started at the center, closest to the butterflies body, then layered the remaining three colors from top to bottom.

Once you've glued all your pieces to your frame, allow them to dry for 30 minutes to an hour before carefully taping them on your favorite window. Create multiple butterflies with bright colors and add some kite paper flowers for a lovely spring window display!









Leave a comment